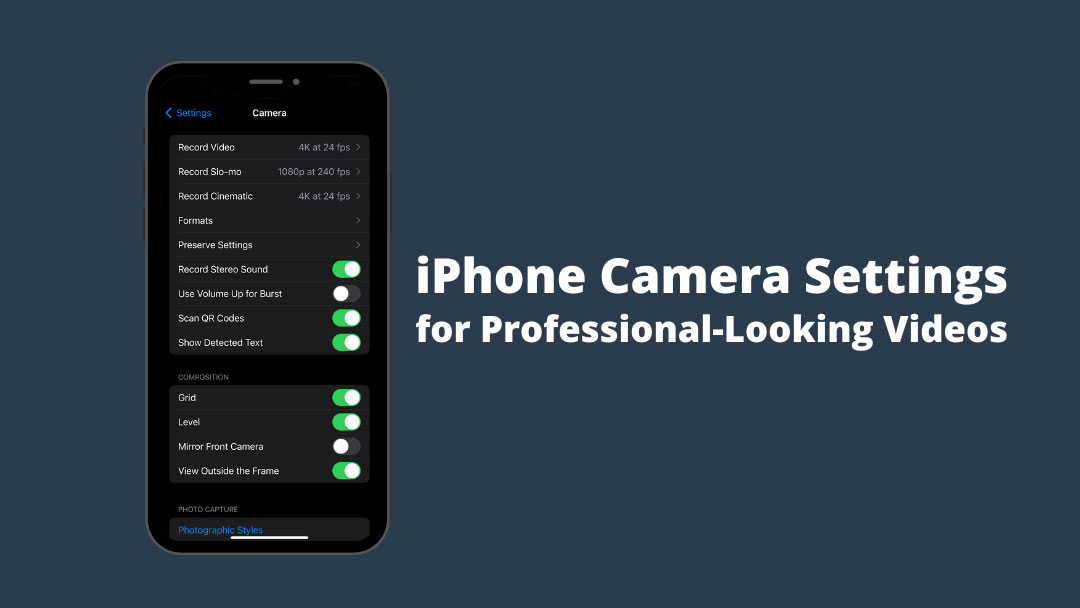
Video is the king of content. Audiences are consuming more and more videos every single day. If you haven’t started creating video content, you’re simply missing out on the medium of the day. And it really is as easy as reaching into your pocket and using your iPhone. To help get you started, here are the best iPhone camera settings for creating professional-looking videos for your business.
iPhone Camera Settings
Before I dive too deep, I want to explain where to find your iPhone camera settings. If you already know this, please feel free to skip to the next section. For those who don’t know where to find your settings, here you go. Click on Settings and scroll down to Camera. And that’s it. We’ll mostly be working inside this section and the Record Video section.
Video Resolution
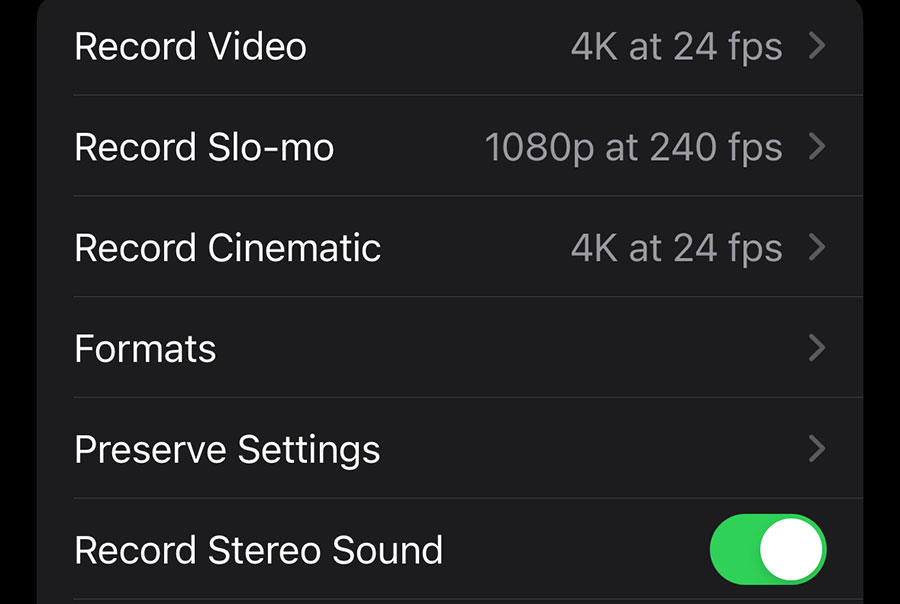
As someone who runs a video production and video content creation company, it’s easy for me to get too technical when discussing iPhone camera settings. I’ll do my best to keep this as simple as possible. In the most straightforward terms I know, video resolution determines the amount of detail in your video. The higher the resolution, the better your videos. The highest resolution on your iPhone is 4K. The next highest resolution is 1080p. Your iPhone also offers 720p resolution, but I recommend avoiding it unless you’re trying to take a trip back to the early 2000s. Keep in mind: the higher the resolution, the larger the video files. I highly recommend capturing your videos in 4K if you have the storage. But your content will still look good in 1080p.
Frames Per Second (FPS)
Frames Per Second (FPS) is exactly what it sounds like: how many video frames your camera captures in a single second. As a professional video production and content creation company, we shoot almost everything in 24 FPS. It’s the most cinematic option in your iPhone camera settings. Television news captures video at 30 FPS. And whenever you want to use slow motion, shooting at a higher frame rate is essential. For that, I suggest 60+ FPS. I suggest shooting your videos in 24 FPS for the most professional and modern-looking videos. If shooting for slow motion and you have the storage space, I’d go as high as possible (240 FPS with the latest iPhone).
Turn On Grid & Level
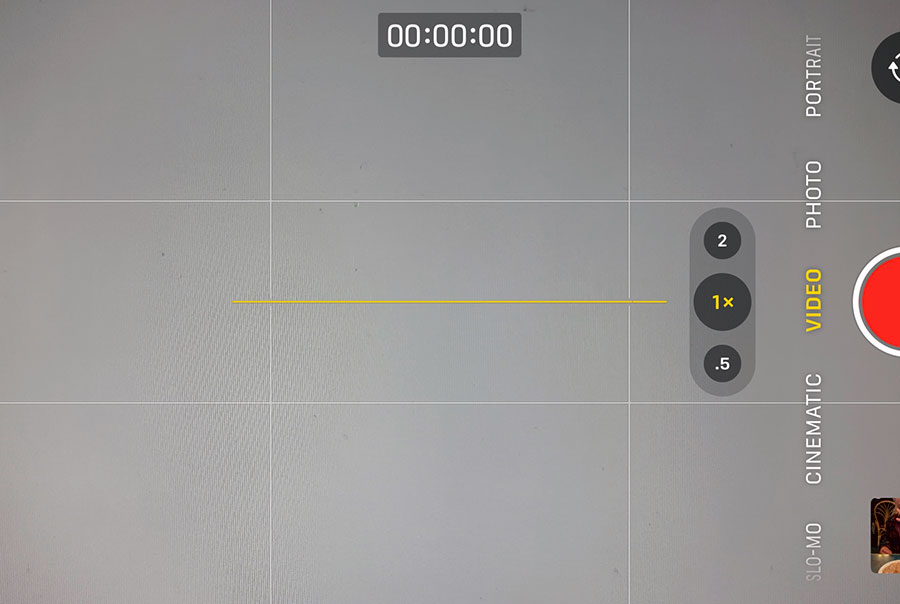
The first two tips are foundational iPhone camera settings. The following settings will help while you’re actually shooting your video. By default, your Grid and Level are turned on (you can find these under Composition in the Camera settings). The grid helps you keep your subject centered and helps you with the rule of thirds. The level helps you keep your video level. When the level is turned on, your camera is level when the line is yellow (see image below) and white when it’s not. Trust me when I say this: keeping your video perfectly level when actively shooting is nearly impossible. Just attempt to keep it close to level. What you’re shooting is more important than the level.
Turn On Record Stereo Sound
As a professional video production and content creation company, I always preach this: audio is just as important as visuals. And I especially mean that when you’re recording someone’s voice. You’re recording their voice because you want people to hear the message. Poor audio quickly diminishes the impact of your message, regardless of the quality of your video. Turn on Record Stereo Sound in your iPhone camera settings to capture the richest audio. If you really want to elevate your business videos, I highly recommend purchasing a microphone for the crispest audio possible. These affiliate links lead to a budget option and a higher-end option to consider.
Edit Your Videos For Free With iMovie
You can simply and quickly edit your videos for free in iMovie. It’s vital to use an editing platform when you record a countdown or tell someone to “go” or yell “action” when already recording. Please, please, please trim those bits off your videos. Nothing says “amateur” more than that simple mistake. If you’d like more options in post-production, there are professional tools like Adobe Premiere Pro and Final Cut Pro. If you plan on using a professional tool like this, or if you plan on hiring a professional editor, then turn off HDR Video in the Record Video settings. Having this off will give the editor more flexibility when completing coloration. If editing the videos yourself in iMovie, keep HDR Video on.
iPhone Video Example
My friend and neighbor is starting a car company with his brother called Strickland Motor Co. I recently visited his backyard garage as he was creating a concept car for the Specialty Equipment Market Association Show, or more simply SEMA Show. To help him create a piece of content for Instagram, I used my iPhone and Insta360 Flow gimbal to capture him in action. To capture his audio, I simply used the Voice Memos app and then enhanced his track in Adobe Premiere Pro. I created a 9:16 and 16:9 versions for him to use. Take a look at the video content I created using only an iPhone.
iPhone Camera Settings for Your Business
These simple iPhone camera settings will help you make more professional-looking videos for your business. Once you gain experience, you can tweak your settings to help you accomplish exactly what you’d like. And honestly, the iPhone is a powerful tool that can help you achieve a ton. As you dive deeper into video production, additional tools, such as a gimbal (another affiliate link) and lighting, will help you level up your game.
While the iPhone is powerful, it doesn’t fully replace professional video production. If you’re looking for the sharpest video possible with the most impactful storytelling, that’s where Moarly Creative comes in. We are professional storytellers and content creators with years of experience and more than a few powerful testimonials.
Don’t hesitate to contact us for your professional video production needs. You can also find us on Instagram, Facebook, and LinkedIn. And you can watch more from our Seattle video production and content creation company on YouTube and Vimeo.